


Email Setup Rental
In order to be able to send rent documents via email, various setup steps are necessary. We recommend sticking to the order in this setup description to avoid errors later.
This chapter is divided into the following sections:
- Storing an Email Account in Microsoft Dynamics 365 Business Central
- Email Setup
- Storing Email Templates
Storing an Email Account in Microsoft Dynamics 365 Business Central
First, an email account that serves as the sender address has to be stored in Microsoft Dynamics 365 Business Central. Proceed as follows:
Important
In this manual it is assumed that an SMTP account linked to a Google Mail (“Gmail”) account is used.
To avoid error messages, it is important for the Gmail account to be set up exactly as it is described in this manual.
- Use the quick search (ALT+Q) to find the Email Accounts page.
- The Email Accounts page is displayed.
- To add a new email account, select New > Add an Email Account from the menu bar.
- The email wizard opens.
- To start the wizard, click Next.
- Select the account type SMTP from the list.
- Click Next.
- The Set up SMTP account window opens.
- Complete the fields according to the table below.
| Field | Description |
|---|---|
| Account Name | In this field, enter the email account that was set up in Google (e.g., test@gmail.com). |
| Sender Name | In this field, enter the name that should be shown as the sender’s name in emails. |
| Email Address | In this field, enter the email account that was set up in Google (e.g., test@gmail.com). |
| Server URL | In this field, enter the following URL: smtp.gmail.com. |
| Server Port | In this field, enter the following port: 587. In case this port does not work, use the port: 465. |
| Authentication | In this field, select the following authentication: Basic. |
| User Name | In this field, enter the email account that was set up in Google (e.g., test@gmail.com). |
| Password | In this field, enter the password that was generated in Google (see section Setting Up a Gmail Account). |
| Secure Connection | Activate this toggle switch if your SMTP mail server setup requires a secure connection that uses a cryptography or security protocol. |
Setting Up a Gmail Account
To set up a Gmail account, proceed as follows:
- Log in to your Gmail account or create a new account.
- Open the account management.
- In the left menu bar, select the Security option.
- In the Signing in to Google section, activate the Use your phone to sign in and 2-Step Verification fields.
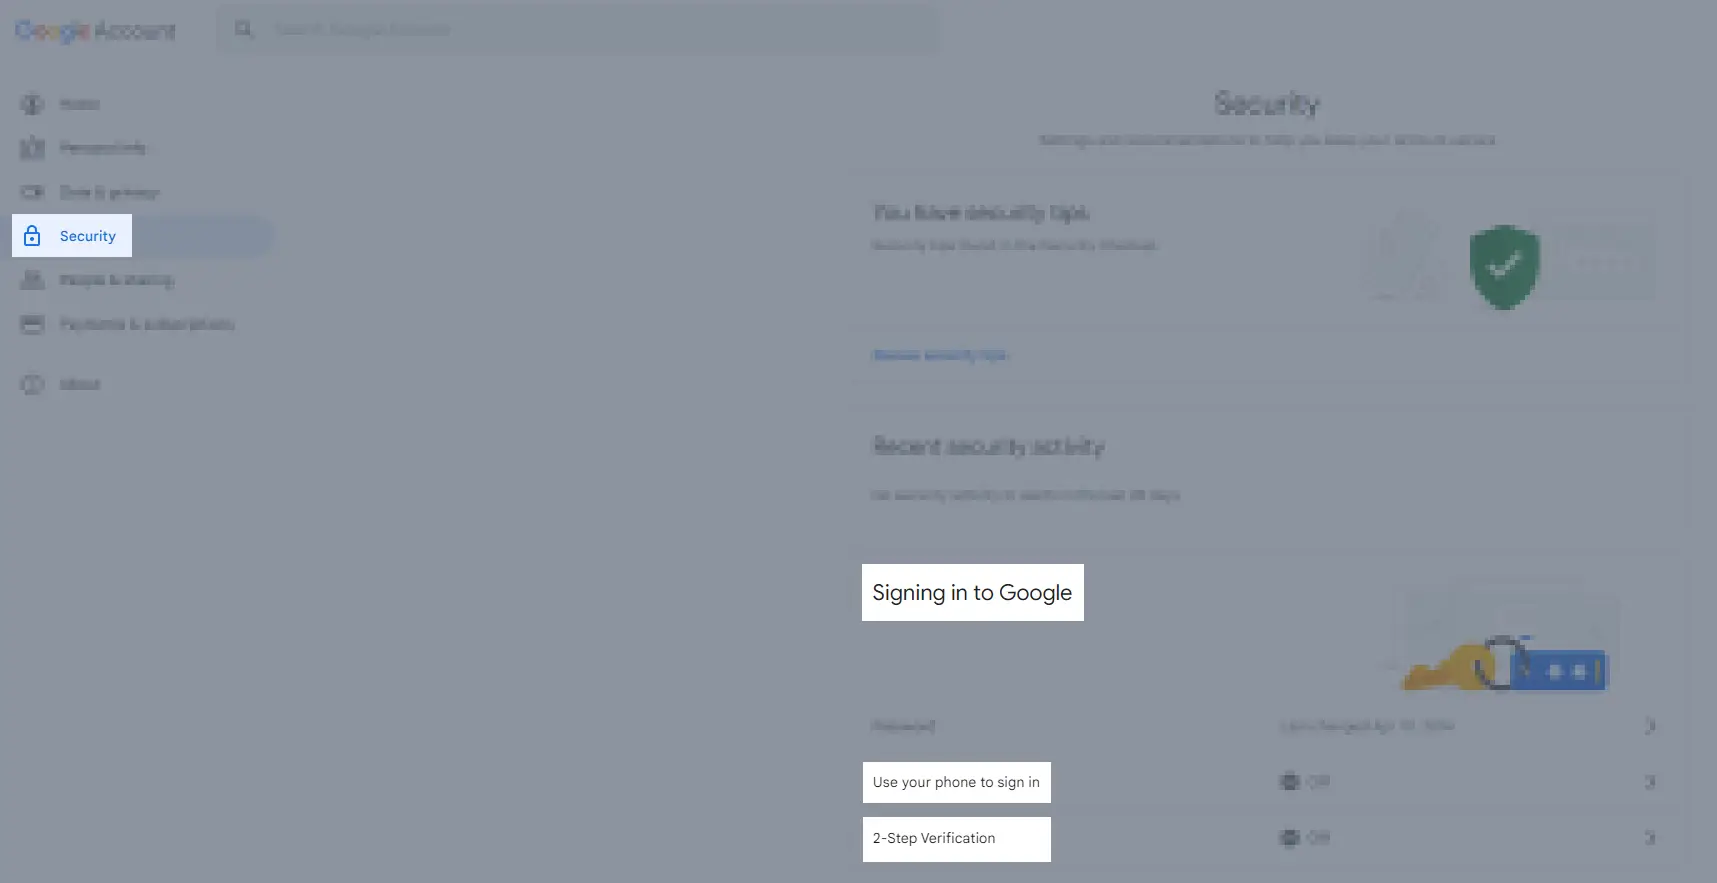
- If you have set up everything correctly, a new App Passwords field is displayed.
- You need this generated password for the Password field in Microsoft Dynamics 365 Business Central (see section Storing an Email Account in Microsoft Dynamics 365 Business Central).
Email Setup
In the email setup, individual setup lines are created for individual document types. To create a setup line, proceed as follows:
- Use the quick search (ALT+Q) to find the Rent Email Setup List page.
- The Rent Email Setup List page is displayed.
- Use the Code column to enter a meaningful name for the setup line.
- Use the Description column to enter a meaningful description for the setup line.
- In the Email Body Source column, select from the dropdown list which record should be collected for use in the base report number. The base report number must be designed for this source record.
- The Base Report No. and Report Name columns are filled automatically by the system.
Storing Email Templates
To store an email template, proceed as follows:
- Use the quick search (ALT+Q) to find the Rent Email Templates page.
- The Rent Email Templates page is displayed.
- In the Type column, select from the dropdown list to which document type the email template should apply.
- In the Subject column, enter the text that is to be displayed in the subject line of the email.
- Optional Select the checkbox in the With Attachment column to send the email with an attachment.
Important
Add the file extension .pdf to the end of the attachment name.
- In the Attachment Name column, enter the name of the attachment file.
- In the Email Setup Code column, select the desired setup code that you have created in the Email Setup section. This specifies which report is used in the background.
- In the Custom Report column, select a customized report layout.
- The field in the Description of Report Layout column is filled automatically by the system.
- Optional In the Email Log Type column, select from the dropdown list the log type the email log shall be marked with.
The email setup is now complete. Rent documents can now be sent via email.
Tip
If your company operates internationally, you can store translations for email templates in different languages in Aptean Rental. You can find all relevant information in the Setting Up Email Template Translations section.